Unisat Wallet Creation Tutorial
1. First, acquire assets
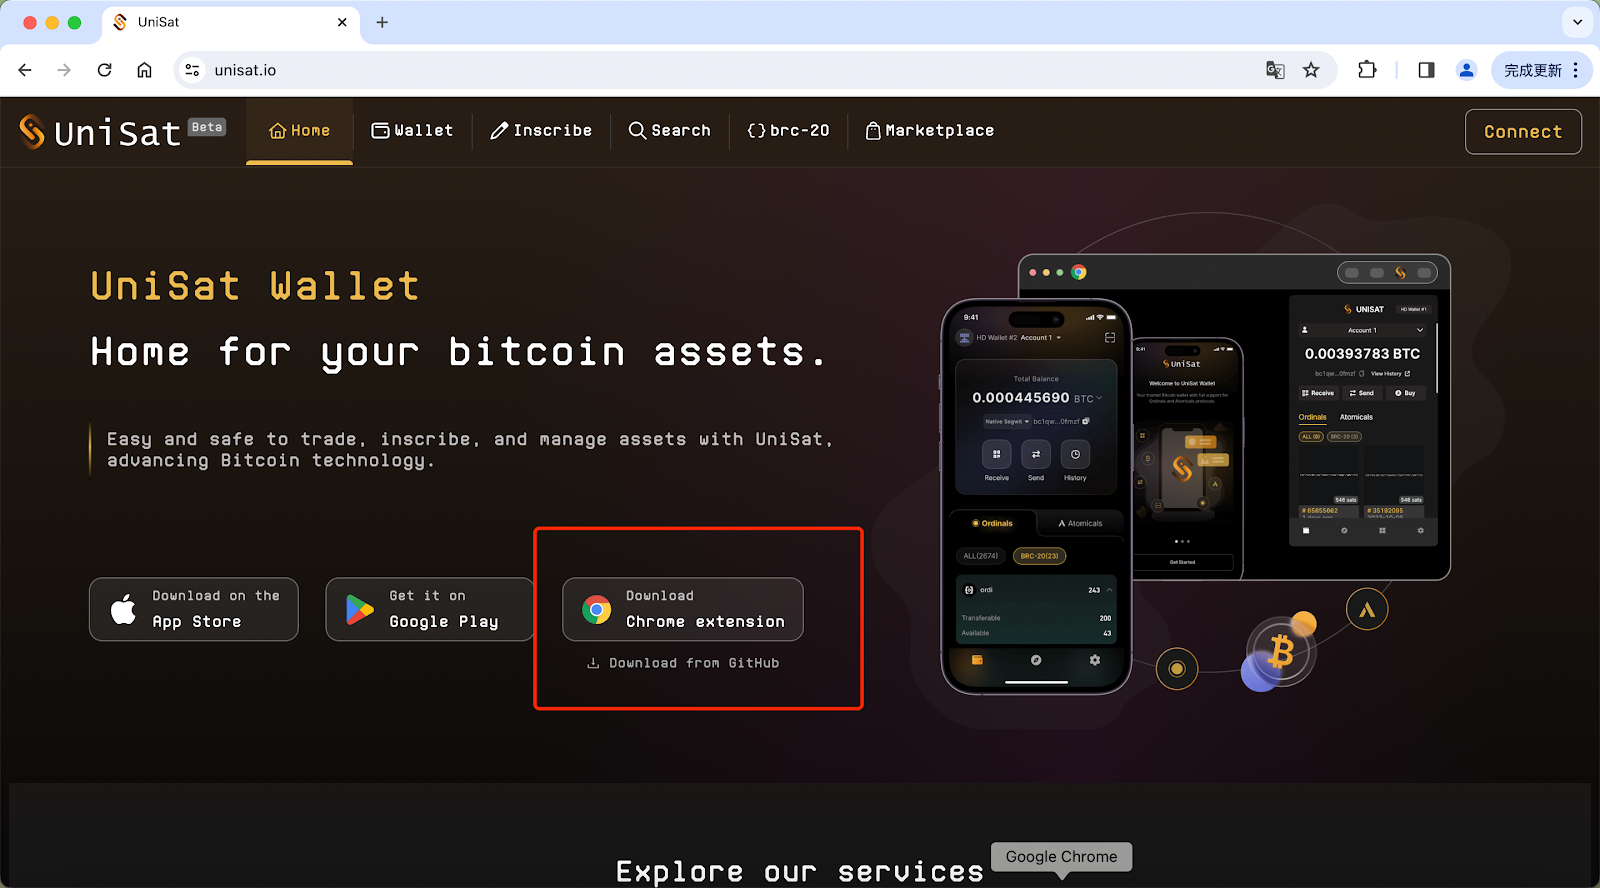
Go to Unisat Wallet’s official website at https://unisat.io to deposit into a Unisat Wallet.
Click the option to download the Chrome Extension for Google.
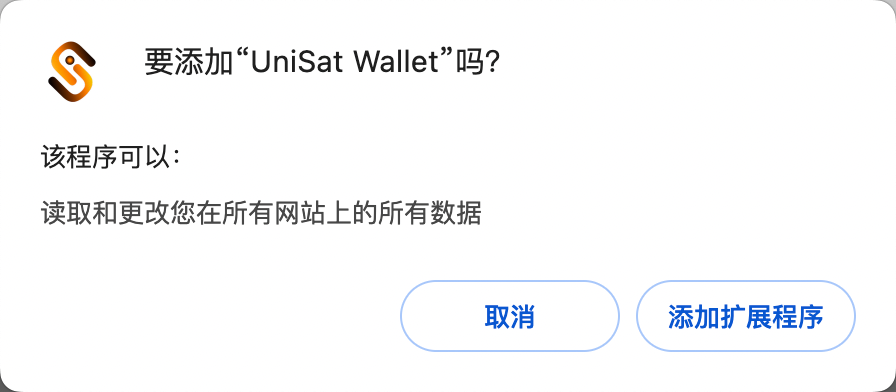
2. Connect to the Chrome app store, click Add to Chrome, then click Add Extension in the pop-up window.
This step is for adding the Unisat Wallet to as a Google extension.
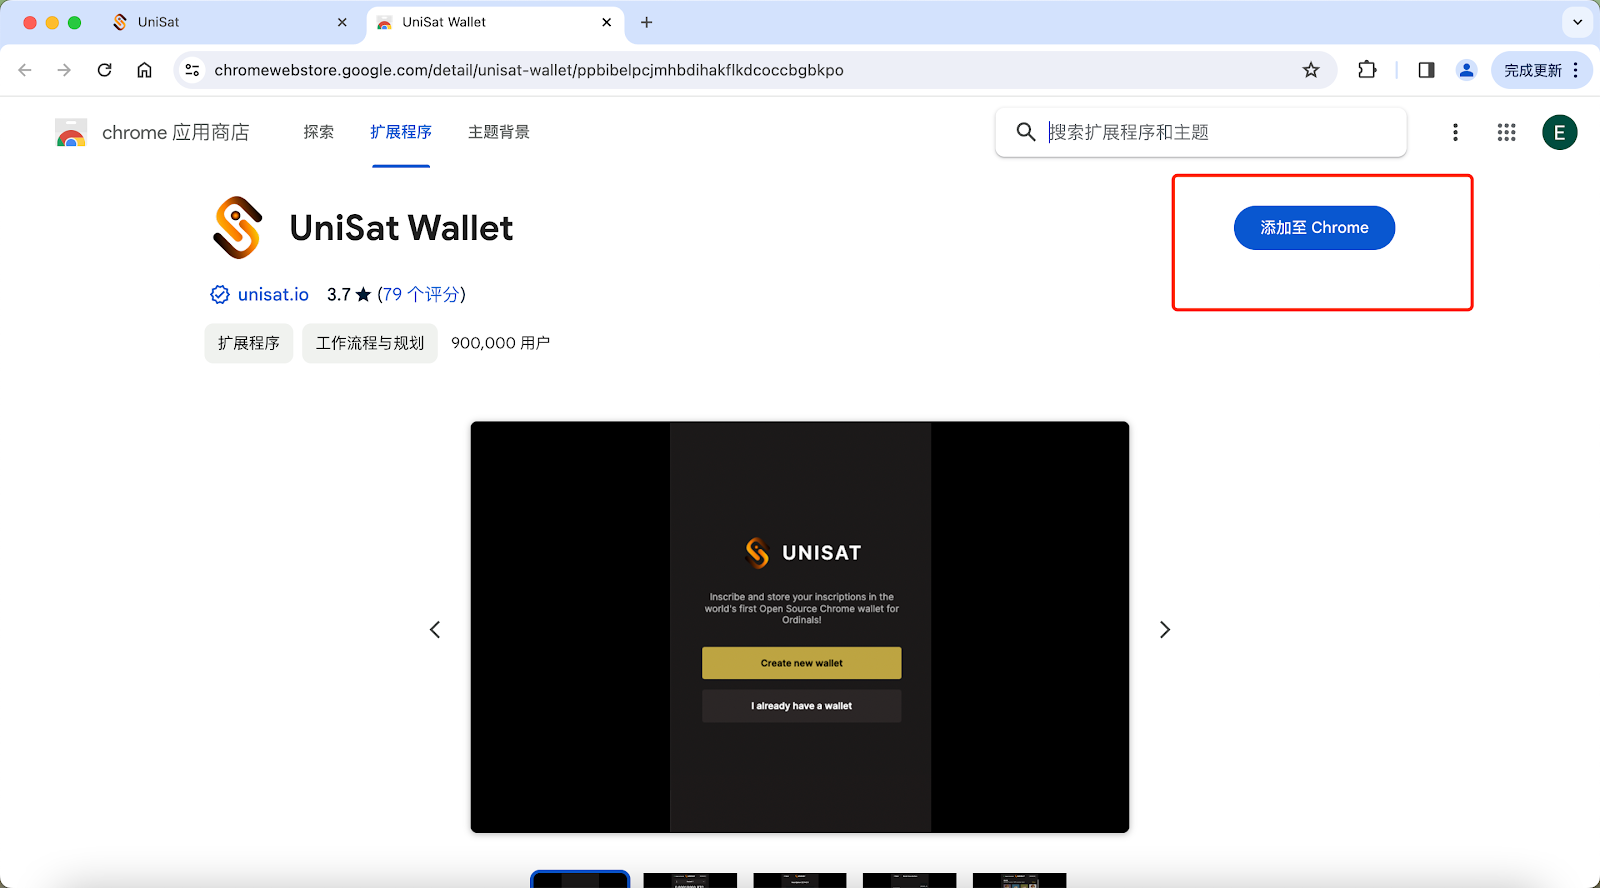
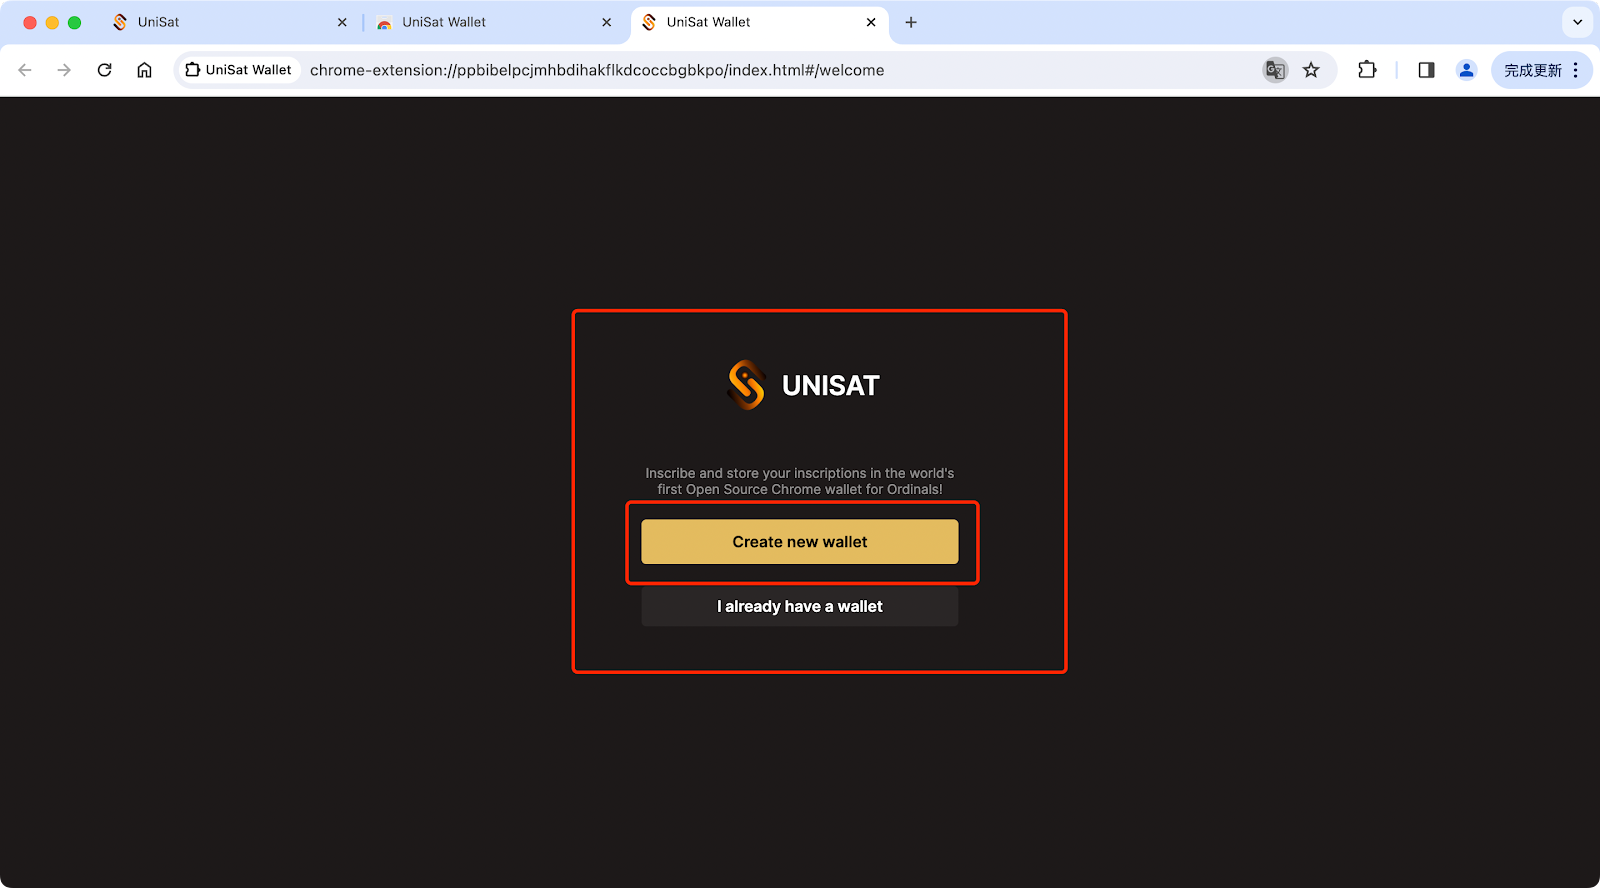
3. Click “Create new wallet” to create a new Unisat Wallet.
If you already have a Unisat Wallet, click “I already have a wallet” to create it.
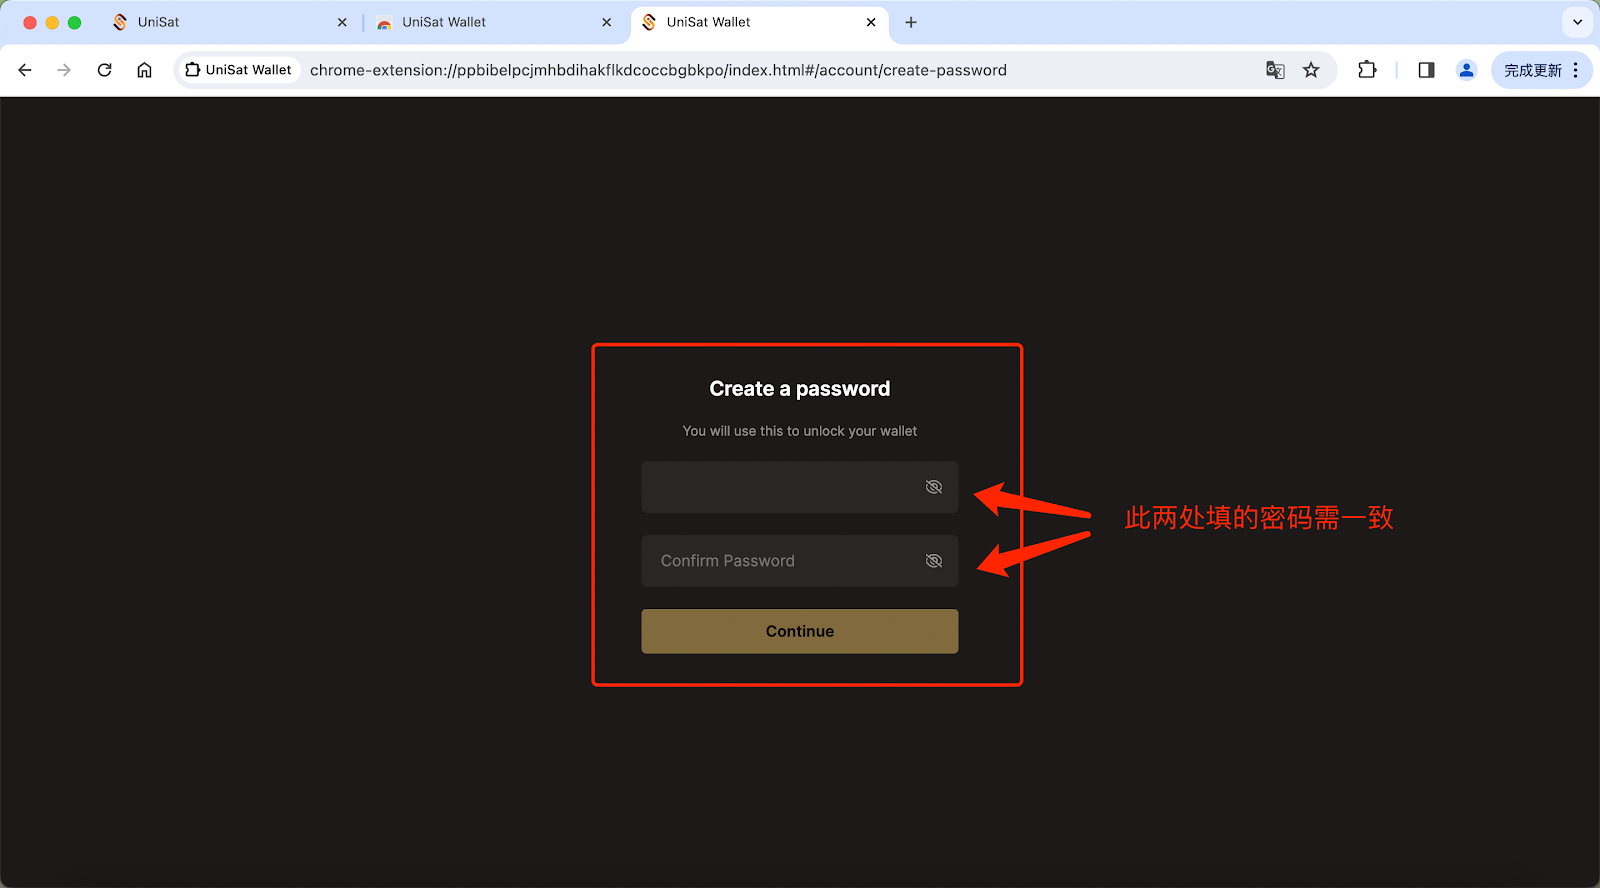
4. As shown in the figure below, create your wallet password and click “Continue” after completion.
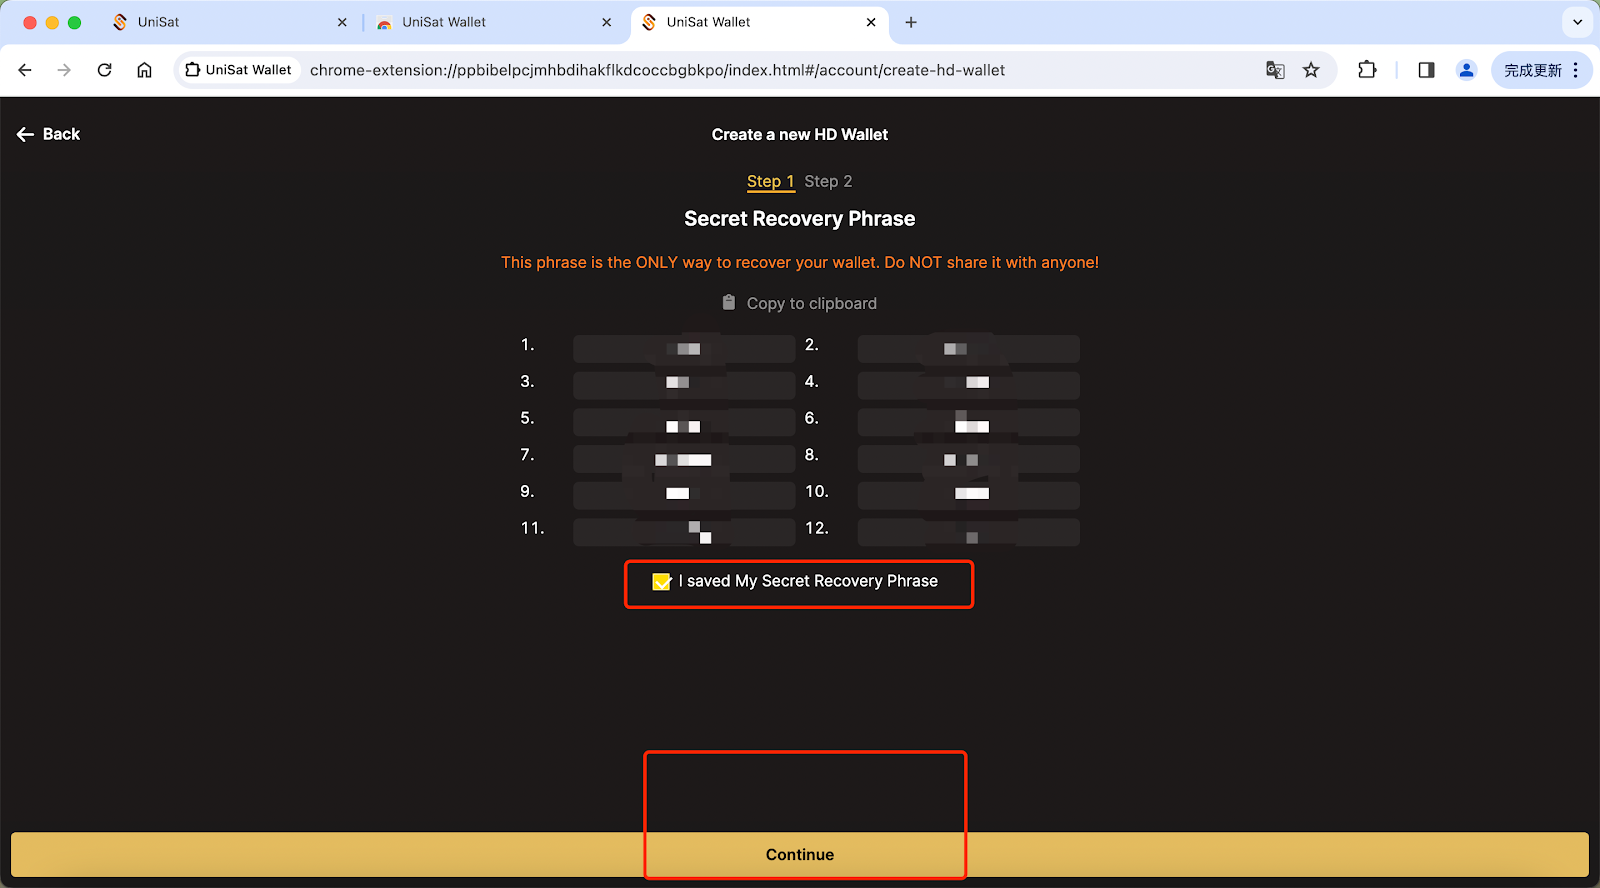
5. Next, the 12-seed mnemonic phrase of your Unisat wallet will be displayed on screen. Copy the 12-seed phrase on the page.
Keep this information private and secret to avoid losing access to your funds or enabling bad actors access to them. Continue by clicking “I saved my secret recovery phrase” and click “Continue”.
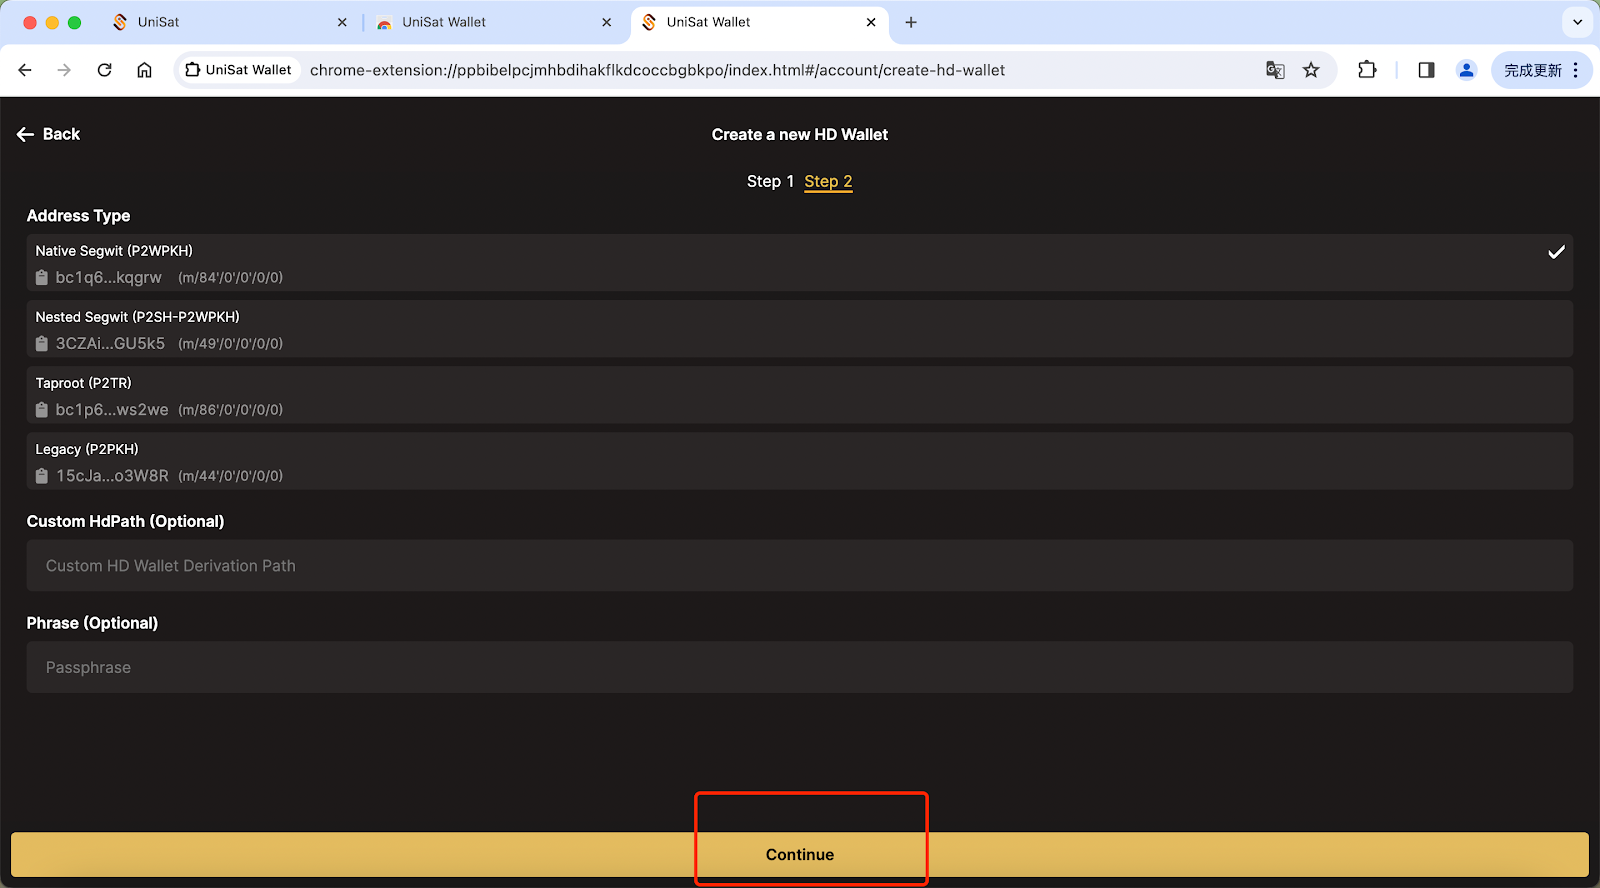
6. Go to step 2 of the wallet creation process.
If you don’t have any special requirements, skip it and click “Continue”.
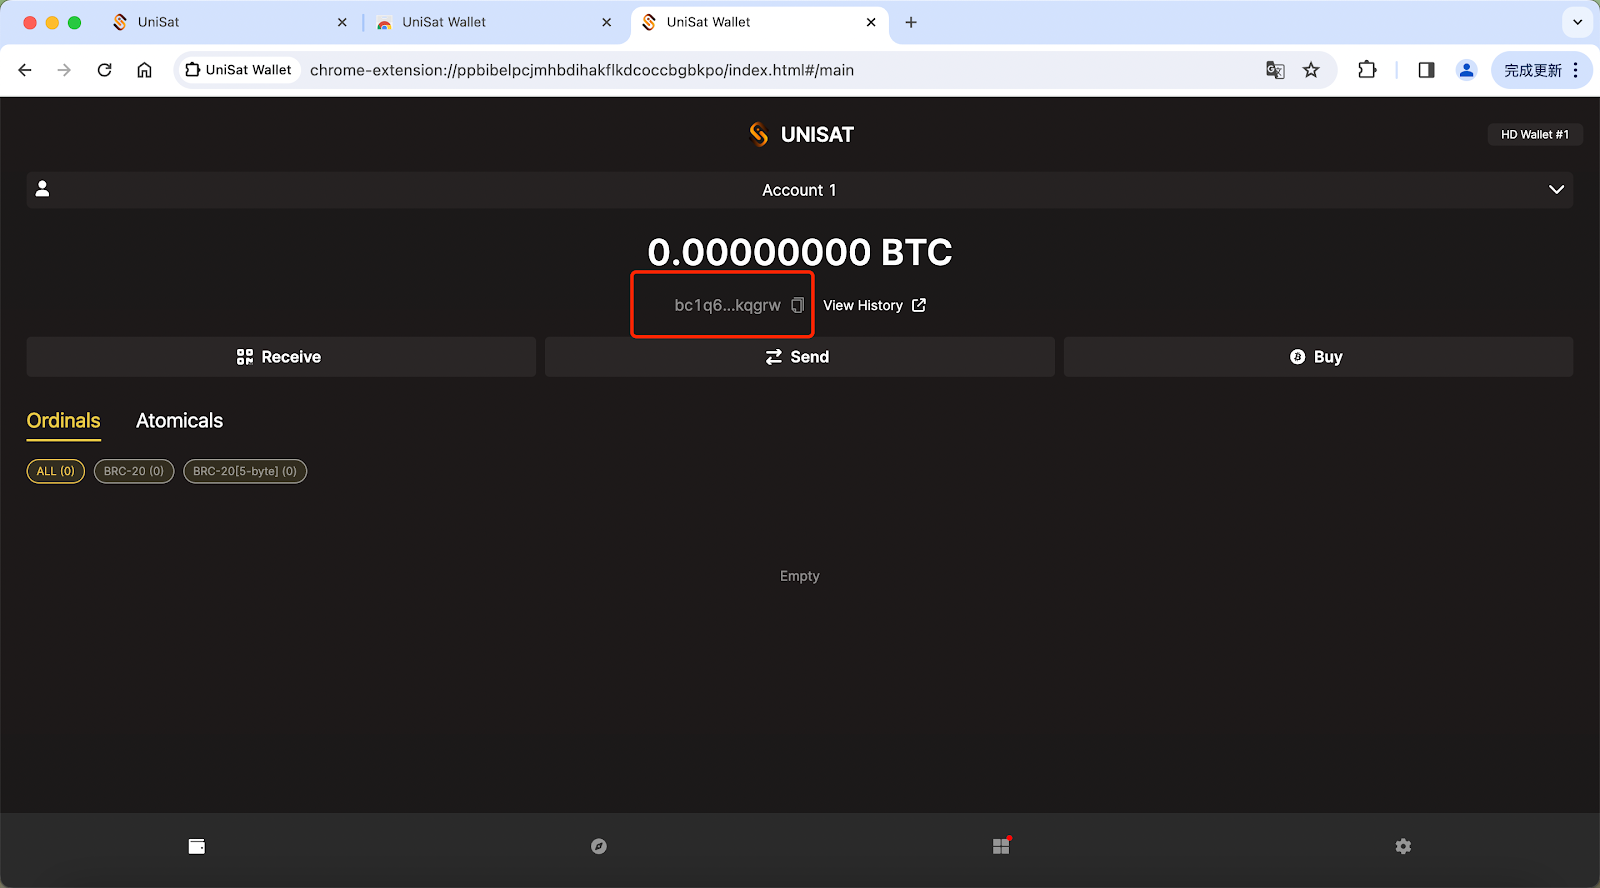
7. Congratulations! You have now created your own Unisat wallet!
Next, we need to transfer BTC to your Unisat Wallet, as shown in the figure below. Please note that you can find your wallet address in the red box in the diagram pictured below
Check if the BTC balance you have entered meets the following requirements:
(1) Please note that the official Bitlayer minimum entry amount is tentatively set at 0.0005 BTC.
(2) The balance reserves a cross-chain fee (the cross-chain fee is tentatively set at 0.00015 BTC). To accommodate this fee, note that the amount of BTC you input needs to be less than your total balance.
Follow us to stay updated on everything Bitlayer: